If you’re currently using a single server for both static file hosting and server-side operations, transitioning to Mate’s hosting may require code adjustments. If your app already distinguishes between static and dynamic requests, integration will be much simpler.
Important recommendation
When deploying an SPA on a static hosting platform (like Mate’s hosting), it’s crucial to choose routing methods that do not depend on server-side configurations. Hash-based routing (using the# symbol in URLs) is a simple and effective way to manage routes without needing server support. Many frameworks offer built-in solutions or plugins to implement this type of routing.
For instance, if you are using React, use HashRouter instead of BrowserRouter:
Features
Lightning Speed
The crucial feature of Mate’s hosting is its well-configured Content Delivery Network spread across the world, in countries where mini applications are commonly used. This feature allows developers to focus on building their applications rather than worrying about how to deliver static assets as quickly as possible.Version Management System
Another notable hosting feature is the version management system. Mate allows the creation of up to five deployment tags, enabling developers to deploy the project with a specific tag without affecting previously deployed assets.Usage Example
A common use case here is when the project has two versions:latest and
staging. The developer can use the latest version for production and
staging for the Quality Assurance team.
After deploying the staging assets, the QA team checks if this staging state
is acceptable. Then, the same assets can be deployed with the latest tag for
production.
About Base URL
When deploying static assets, Mate uses the following base URL pattern:storage_key: a unique key for the deployed project. This value is non-configurable and is assigned to the project upon creation.tag: a deployment tag. This value is set during the deployment process by the developer. Examples includestaging,latest,dev, etc.
Getting started
Register a project
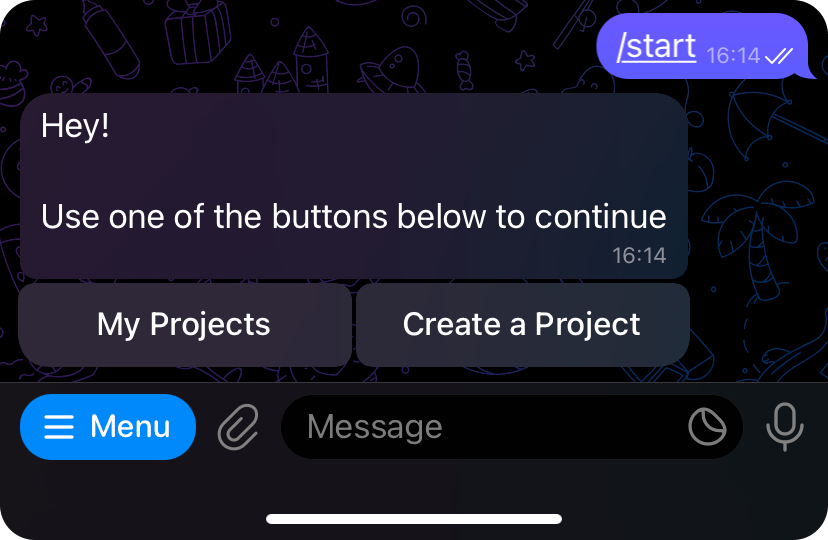
To start using the hosting functionality, you must register the project and obtain its deployment token. To get the token, go to@tma_mate_bot and press the Start button to
begin the conversation with the bot.
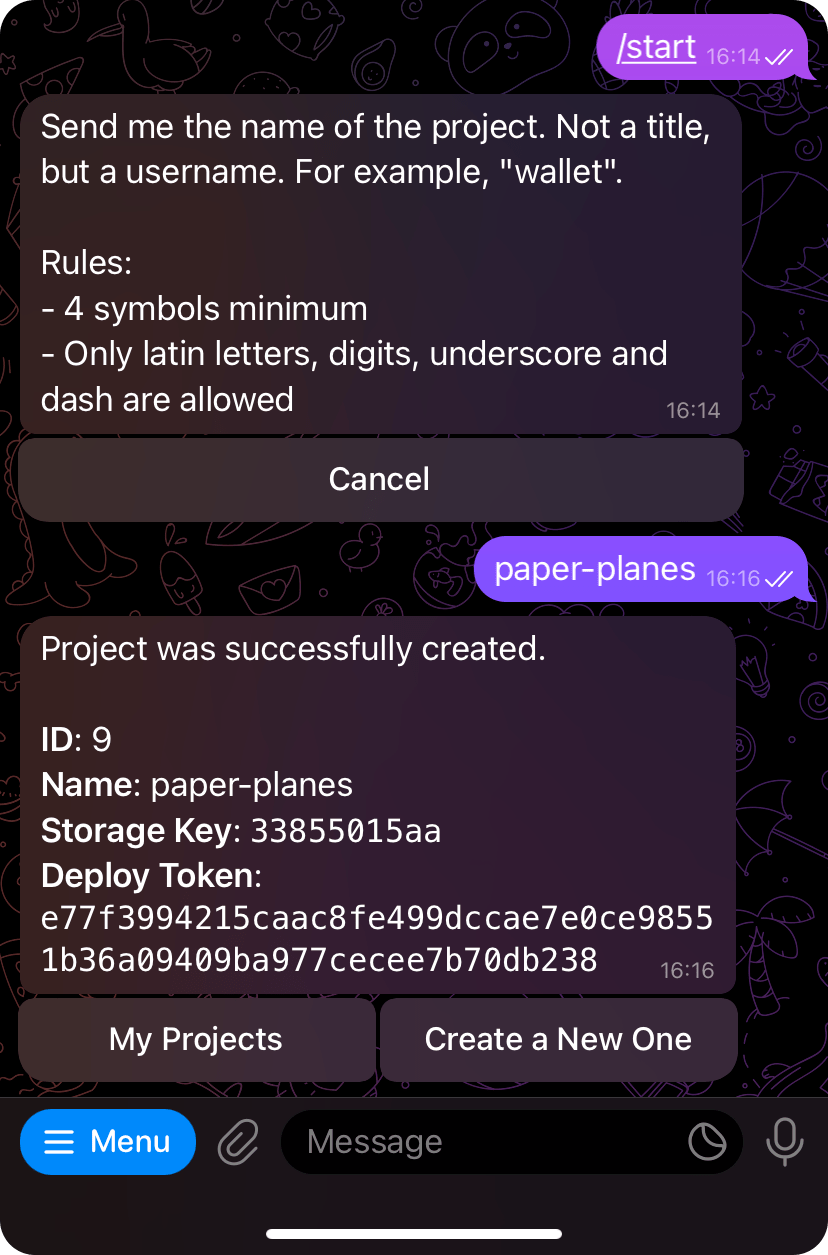
Create a Project button and enter the title of the project to
be created, following the specified rules.
Update the static assets base URL
Before deploying the project, ensure that all static assets have a valid base URL. You can learn more about how Mate generates the static assets base URL here. To retrieve the project deployment information using a specific tag, use the following command:DEPLOYMENT_TOKEN and PROJECT_ID values refer to the deployment
token and project identifier received from the previous step. TAG is a
deployment version tag name.
Output example:
https://35f105bd6b.tapps.global/staging is the base URL that should
be used in the project bundler.
Here’s how it can be applied using Vite.
Deploy the project
To deploy the project, Mate requires specifying a folder to be uploaded to the hosting service. The folder must only contain files that can be opened by the user’s browser, so no source files or files for different purposes should be present in the directory. Let’s assume the following conditions:- A project with ID
48and tokenaabbccddwas created. - A folder named
distcontains all the mini application built static assets. - It is required to deploy the static assets with the tag
latest.
[!WARNING]
The deployed directory must include only standard files and directories,
excluding private ones (starting with the . symbol). All other types of
files (such as symlinks) are forbidden. If found during the deployment process,
the CLI tool will throw a corresponding error.
Verify deployment and configure TMA
After deploying, it’s recommended to verify that your application is working correctly by accessing it via the direct link:storage_key is 35f105bd6b and your tag is latest, the link will look like this:
Using config
To avoid repeatedly specifying parameters, Mate allows creating a special configuration with all the parameters included. To start using the Mate config along with the optional commands’ options, create themate.yml or mate.json file in the project root directory
with the following example content:
info and upload commands will retrieve the values from the
configuration.
tag option with the staging value, use the
following command: